Card Vision App Training Vol. 1 - Scanning Best Practices
When introducing a technology that can scan up to 12 cards at a time, it's important to outline our suggestions for maximizing the technology! Here are our guidelines for scanning with Card Vision:
- Only scan graded or non-graded cards at a time (don't mix and match). Non-graded "Raw" cards are required to have the front and back of the card scanned (2 images for raw cards) in where-as graded does not. This is a toggle on the showcase page within the app.
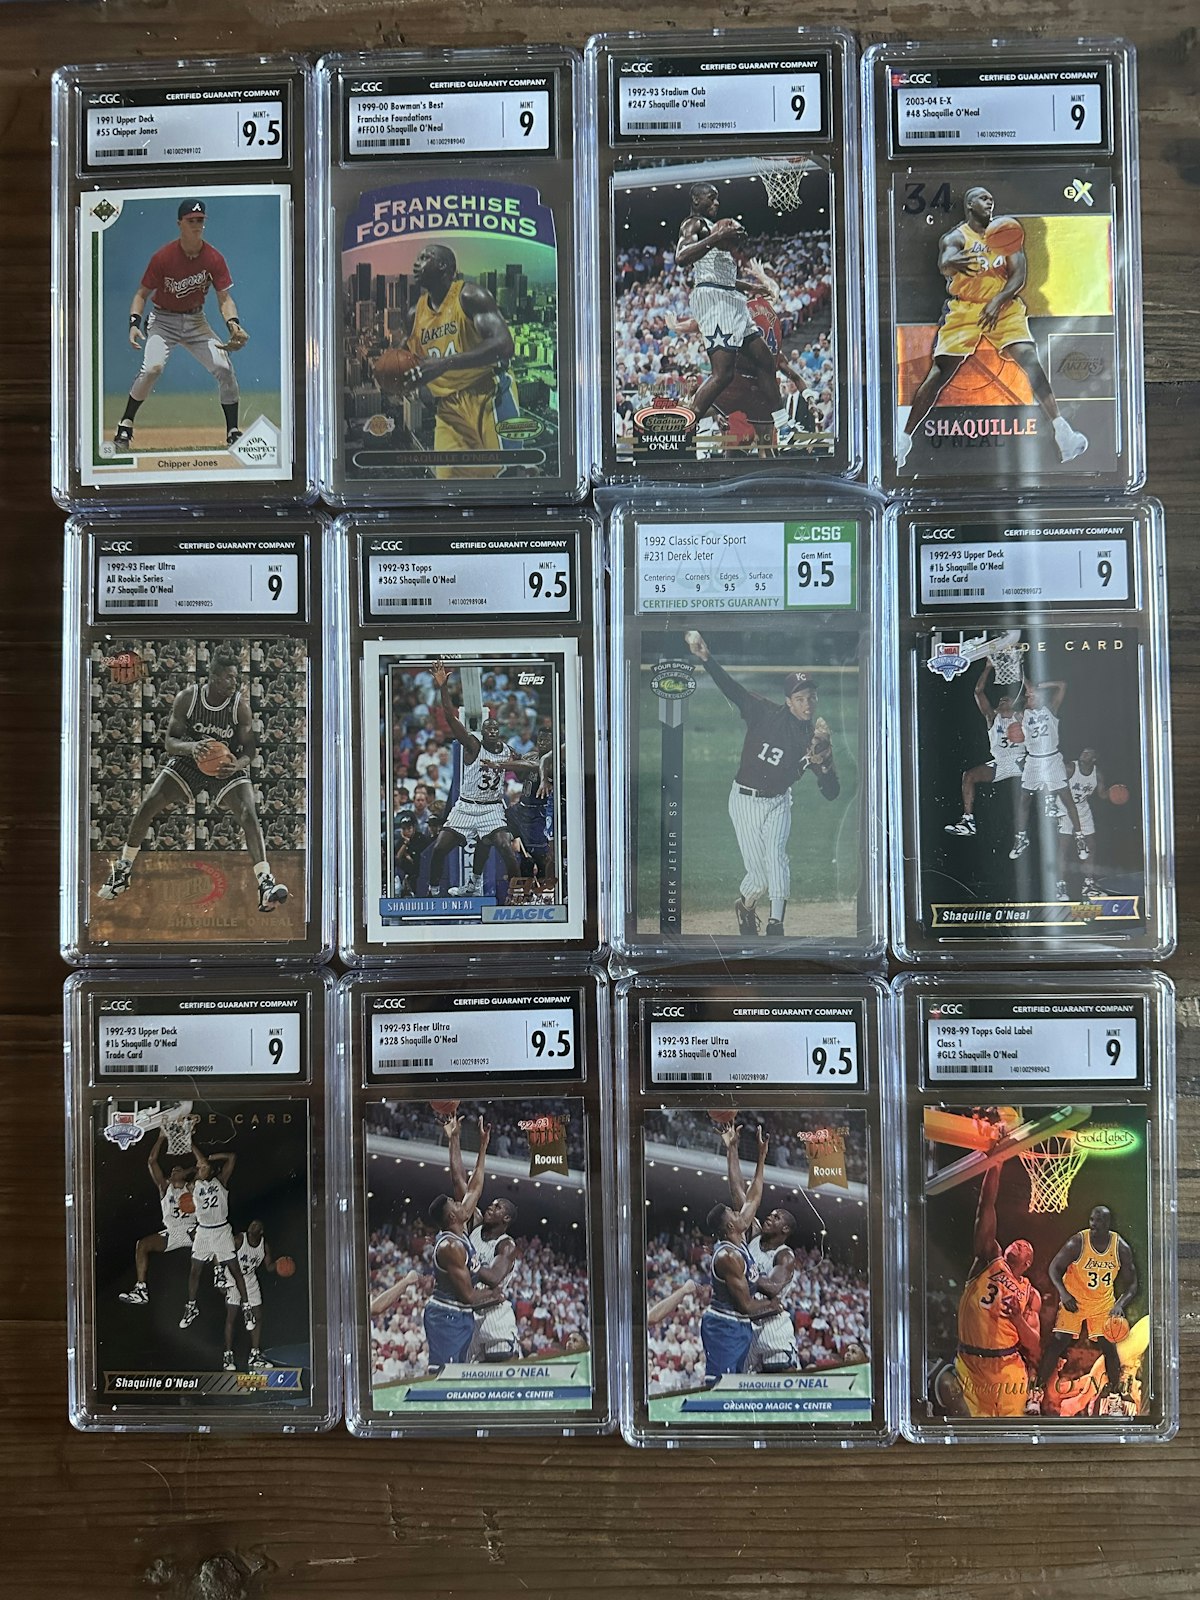
- Place cards in a 3x4 format on a flat darker surface (3 rows of cards within 4 columns). This allows for optimal placement of cards within a smartphone's camera view (in Portrait mode)
- Speaking of portrait, take all photos vertically or in portrait mode. It helps if you lock the orientation on your phone as well.
- Don't overlap card details as much as possible either with other cards or price stickers (place price stickers where they cover the least amount of details).
- Use good lighting and avoid shadows. If you can't read the details of the image, it's likely neither can our AI solution.
- Although our solution can scan up to 12 cards, we do recommend 9 cards for the highest level of accuracy. And if you don't have 12 cards to scan, no worries! You can scan as few as a single card at a time.
We are excited for everyone to get their hands on Card Vision and to give us feedback on your favorite techniques when scanning!